
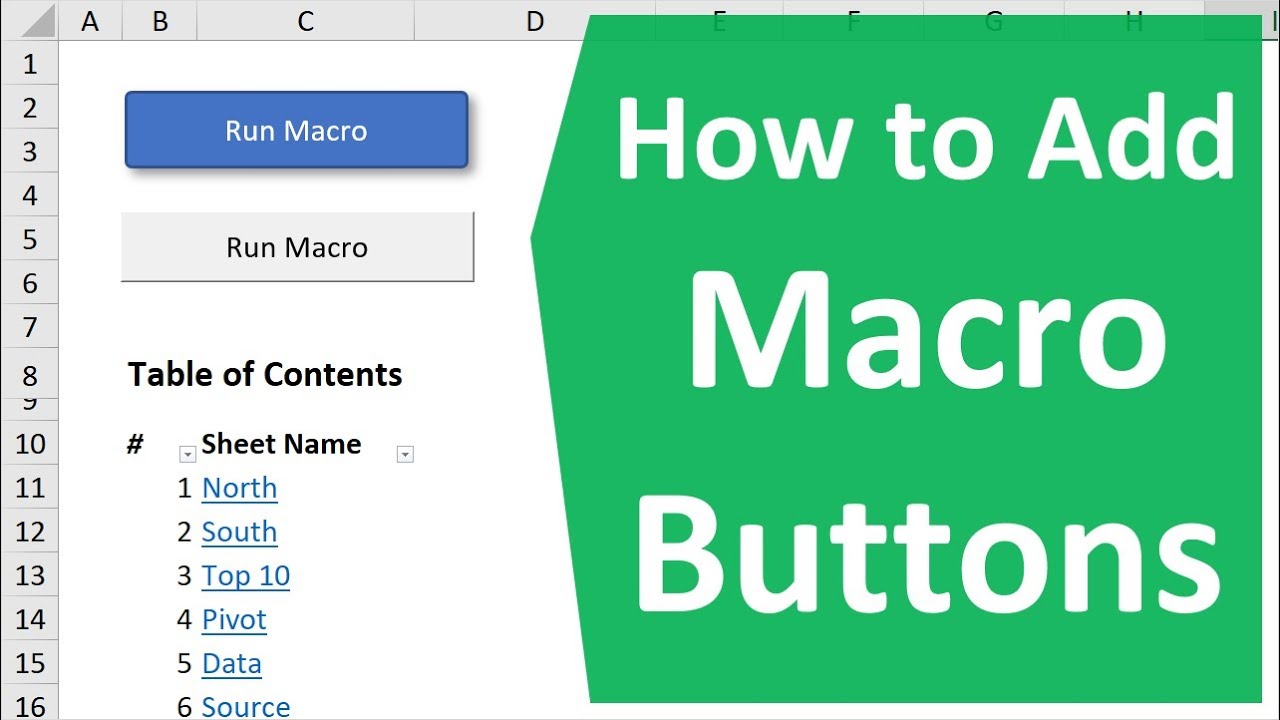
To create an Excel button to run a macro, first insert a button from the Developer tab. Then, assign your macro to the button.
Excel provides a straightforward way to automate tasks using macros. Macros are sequences of instructions that can be executed with a single click. Adding a button to run a macro can significantly improve efficiency, especially for repetitive tasks. Start by enabling the Developer tab in Excel, which contains various tools for macro creation and management.
Once the tab is active, you can insert a button, customize it, and assign your specific macro to it. This setup allows users to execute complex sequences effortlessly, making workflows smoother and more productive. By integrating macros with buttons, Excel becomes a powerful tool for automation.
Introduction To Excel Macros
Excel Macros are a powerful feature in Microsoft Excel. They help automate repetitive tasks. With a simple click, you can run complex sequences of commands. This makes your workflow faster and more efficient.
What Are Macros?
Macros are sets of instructions. They automate tasks in Excel. These instructions are written in Visual Basic for Applications (VBA). You can record or write these macros. They can perform many tasks like formatting cells, creating charts, or even generating reports.
Benefits Of Using Macros
- Time-Saving: Macros automate repetitive tasks, saving time.
- Consistency: They ensure tasks are done the same way each time.
- Accuracy: Reduces human error in data processing.
- Efficiency: Improves overall productivity in Excel.
| Feature | Benefit |
|---|---|
| Time-Saving | Automates repetitive tasks |
| Consistency | Ensures uniform task execution |
| Accuracy | Reduces errors |
| Efficiency | Boosts productivity |
Credit: m.youtube.com
Creating Your First Macro
Creating your first macro in Excel can be very exciting. Macros automate repetitive tasks, making your work easier and faster. Let’s dive into how to create your first macro, whether by recording or writing in VBA.
Recording A Macro
Recording a macro is the simplest way to get started. Follow these steps:
- Open Excel and go to the View tab.
- Click on Macros and select Record Macro.
- Give your macro a name and click OK.
- Perform the actions you want to automate.
- Go back to Macros and click Stop Recording.
Your macro is now recorded. You can run it anytime to repeat the actions.
Writing A Macro In Vba
Writing a macro in VBA gives you more control. Here’s how you can do it:
- Press Alt + F11 to open the VBA editor.
- Go to Insert and click Module.
- In the module window, type your VBA code.
Here’s a simple example:
Sub HelloWorld()
    MsgBox "Hello, World!"
End Sub
This code will show a message box with “Hello, World!” when run.
After writing your code, close the VBA editor. You can now run your macro from the Macros menu in Excel.
Adding A Button In Excel
Adding a button in Excel can make your work faster and easier. A button can run a macro with just one click. This means you can automate repetitive tasks. There are two main types of controls you can use for buttons in Excel: Form Controls and ActiveX Controls.
Using Form Controls
Form Controls are simple and easy to use. They are great for basic tasks. Follow these steps to add a Form Control button:
- Go to the Developer tab in Excel.
- Click on Insert in the Controls group.
- Select the Button (Form Control) from the drop-down menu.
- Draw the button on your worksheet.
- Assign a macro to the button by clicking Assign Macro.
- Choose the macro you want to run and click OK.
Using Activex Controls
ActiveX Controls offer more flexibility and customization. They are suitable for advanced tasks. Follow these steps to add an ActiveX Control button:
- Navigate to the Developer tab in Excel.
- Click on Insert in the Controls group.
- Select the Command Button (ActiveX Control) from the drop-down menu.
- Draw the button on your worksheet.
- Right-click on the button and choose View Code.
- Write the VBA code for the macro you want to run.
- Close the VBA editor.
Both Form Controls and ActiveX Controls can help automate tasks in Excel. Choose the type that best fits your needs.
Assigning A Macro To A Button
Assigning a macro to a button in Excel is a game-changer. It simplifies complex tasks into a single click. This guide will show you how to do it. Let’s dive into the steps, common issues, and their fixes.
Steps To Assign
- Open your Excel workbook.
- Go to the Developer tab on the ribbon.
- Click on the Insert button.
- Select the Button (Form Control) option.
- Draw the button on your worksheet.
- The Assign Macro dialog box appears.
- Select the macro you want to assign.
- Click OK to assign the macro.
Now, your button runs the macro with a single click.
Common Issues And Fixes
| Issue | Fix |
|---|---|
| Button not responding | Check if the macro is enabled. |
| Macro not listed | Ensure the macro is in the same workbook. |
| Error message on click | Check the macro code for errors. |
| Button disappears | Ensure the worksheet is not protected. |
Assigning macros to buttons in Excel boosts productivity. It turns complex processes into single-click actions. Follow these steps and solutions to get the best out of Excel.
Customizing Button Appearance
Creating a macro button in Excel is useful. But making it visually appealing is crucial for user experience. Customizing the button’s appearance can make it stand out. This section covers how to change the button text and style it effectively.
Changing Button Text
Changing the button text is simple. Follow these steps:
- Select the button.
- Right-click and choose Edit Text.
- Enter the desired text.
- Click outside the button to save.
Ensure the text is clear and descriptive. This helps users understand the button’s function.
Styling The Button
Styling your button can make it more attractive. You can change the font, color, and size. Here’s how:
- Select the button.
- Go to the Format tab.
- Choose Shape Fill to change the color.
- Select Shape Outline for border color.
- Use Shape Effects for shadows and 3D effects.
Using consistent styles can improve the overall look of your spreadsheet.
| Feature | Option | Description |
|---|---|---|
| Font | Bold, Italic, Underline | Makes text stand out. |
| Color | Shape Fill, Outline | Changes button’s background and border. |
| Effects | Shadow, 3D | Adds depth to the button. |
Remember, a well-styled button enhances user interaction. Keep it simple and effective.
Credit: www.youtube.com
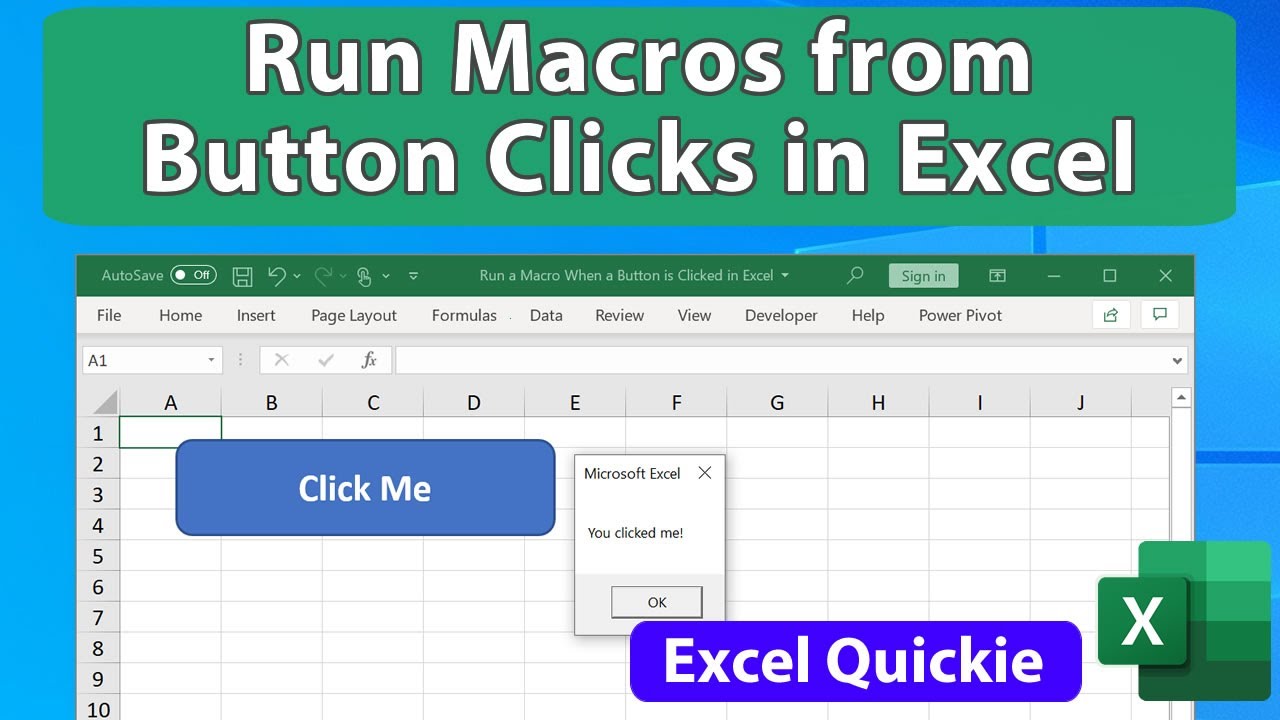
Testing Your Macro Button
After creating your Excel button to run a macro, the next step is testing. This ensures that the button works correctly and executes the macro as intended. Testing your macro button involves running the macro and debugging any issues that arise.
Running The Macro
Click the button you created in Excel. This should immediately execute the macro. If the macro runs without issues, you will see the expected results. If not, you may need to debug.
Follow these steps to run the macro:
- Open your Excel workbook.
- Locate the button you added.
- Click the button to run the macro.
Debugging Tips
If the macro does not run as expected, debugging is necessary. Here are some tips to help debug your macro:
- Check for Errors: Examine the macro code for any syntax errors.
- Use Breakpoints: Set breakpoints in the code to identify where the macro fails.
- Step Through Code: Use the step-through feature to execute the code line by line.
- Inspect Variables: Check variable values to ensure they are correct.
Using these tips helps identify and fix issues in your macro. Ensure your button functions correctly and efficiently.
Advanced Tips And Tricks
Macros in Excel can save time and automate tasks. Advanced users can enhance functionality using buttons. Here are some advanced tips and tricks for using Excel buttons to run macros.
Using Dynamic References
Using dynamic references in your macros makes them more versatile. Dynamic references allow macros to adjust based on cell changes. This feature is essential for complex spreadsheets.
- Use the
OFFSETfunction to create dynamic ranges. - Employ
INDIRECTto convert text strings into cell references. - Combine
INDEXandMATCHfor flexible data lookups.
Here is an example of how to use OFFSET:
Sub DynamicRange()
    Dim rng As Range
    Set rng = Range("A1").Offset(1, 0).Resize(10, 2)
    rng.Interior.Color = RGB(200, 200, 200)
End Sub
Creating Interactive Dashboards
Interactive dashboards make data analysis easier. They provide visual insights at a glance. Buttons can enhance these dashboards by running macros.
Follow these steps to create a button for your dashboard:
- Insert a button using the Developer tab.
- Assign a macro to the button.
- Use conditional formatting for dynamic visuals.
Consider these tips for effective dashboards:
- Keep the design simple and clean.
- Use charts and graphs for better visualization.
- Include filters for interactive data sorting.
An example macro for updating dashboard data:
Sub UpdateDashboard()
    Range("B2").Value = Application.WorksheetFunction.Sum(Range("A1:A10"))
    Range("C2").Value = Application.WorksheetFunction.Average(Range("A1:A10"))
    ' Refresh charts
    ActiveSheet.ChartObjects("Chart1").Chart.Refresh
End Sub
These advanced tips can transform your Excel experience. Use them to create dynamic and interactive spreadsheets.
Real-world Applications
Using an Excel button to run a macro can simplify many tasks. It can improve efficiency and accuracy in various real-world applications. Here, we explore some key areas where this feature shines.
Automating Reports
Creating reports can be time-consuming. By using an Excel button to run a macro, you can automate these tasks. This saves time and reduces errors. Imagine generating monthly sales reports with a single click. You gather data, format it, and create charts automatically.
Consider the following table for a better understanding:
| Task | Manual Time | Automated Time |
|---|---|---|
| Data Gathering | 30 mins | 1 min |
| Data Formatting | 20 mins | 1 min |
| Chart Creation | 15 mins | 1 min |
Streamlining Data Entry
Data entry can be tedious. Using an Excel button to run a macro can streamline this process. You can validate entries, correct errors, and format data quickly.
Here are some common tasks:
- Validating email addresses
- Formatting phone numbers
- Removing duplicate entries
A button click can handle all these tasks. This makes data entry faster and more accurate.
Conclusion And Next Steps
Creating an Excel button to run a macro can save time. It makes tasks easier and more efficient. In this section, we will wrap up the key points and provide resources for further learning.
Recap Of Key Points
- Macros automate repetitive tasks in Excel.
- You can create a macro using the Developer Tab.
- Add a button in Excel to run the macro with a single click.
- Use the Form Controls or ActiveX Controls for button creation.
- Always test your macro and button to ensure they work properly.
Resources For Further Learning
To enhance your skills, explore these resources:
| Resource | Description |
|---|---|
| Microsoft Excel Support | Official documentation and tutorials from Microsoft. |
| Udemy Excel VBA Courses | Learn VBA and macro creation through video courses. |
| ExcelJet | Quick tips and tutorials for Excel users. |
Keep practicing and exploring new ways to automate your tasks. The more you practice, the better you will become.

Credit: stackoverflow.com
Frequently Asked Questions
How To Add A Button To Run A Macro In Excel?
To add a button, go to the Developer tab. Click “Insert” and select “Button”. Draw the button on your sheet. Assign your macro to the button.
Can I Assign Multiple Macros To One Button?
No, you can only assign one macro to a button. If you need multiple actions, create a new macro that calls other macros.
How To Edit A Button’s Properties?
Right-click the button and select “Format Control”. You can change the button’s appearance and properties from this menu.
Why Is My Macro Button Not Working?
Ensure the macro is enabled and correctly assigned to the button. Check for errors in your macro code.
Conclusion
Creating an Excel button to run a macro can boost your productivity. It simplifies repetitive tasks and saves time. Follow the steps outlined in this guide for a smoother experience. Customize your workflows and make Excel work for you. Implementing this feature is easy and highly beneficial.
Happy Excel-ing!